
DIY quilted tote bag
Are you looking for a fun quilting project?
This quilted tote bag might be just the right thing for you. It‘s a great way to use fabric scraps, HST (half square trianlges), flying geese or blocks from previous quilting projects and leftover batting.
You can make this tote bag any size you want to. For mine, I used leftover blocks from the Linzquilt (you can get the pattern HERE) and is about 14 x 16 inches and perfect for carrying it always with me.
Are you ready? Well, let’s get started right away.

You need:
fabric scraps or finished blocks for the front and back
fabric for lining and handles; or a webbing for the handles
batting
hera marker or fabric pencil, ruler, cutting mat, rotary cutter or scissor, pins or clips
Step 1: Sew the front and back of your tote bag by piecing your scraps or blocks together. Trim to your preferred size. Baste and quilt your finished front and back piece as you like. Lay out your batting, lay your front piece on top of it (right side up) and pin together. Do the same with your back piece. Quilt as you like – use your hera marker and ruler for making guidelines and hand or machine quilt your pieces.


Step 2: Make the body of the bag
With right sides together sew the sides and bottom of the front and back of your tote together. Leave the top open. Turn the bag so that the right side is outwards.

Step 3: The lining
Cut two pieces of lining – they should be the same size as your bag size. With right sides together sew the sides and bottom of the lining together.
ATTENTION: Leave an opening on the bottom to turn through later.
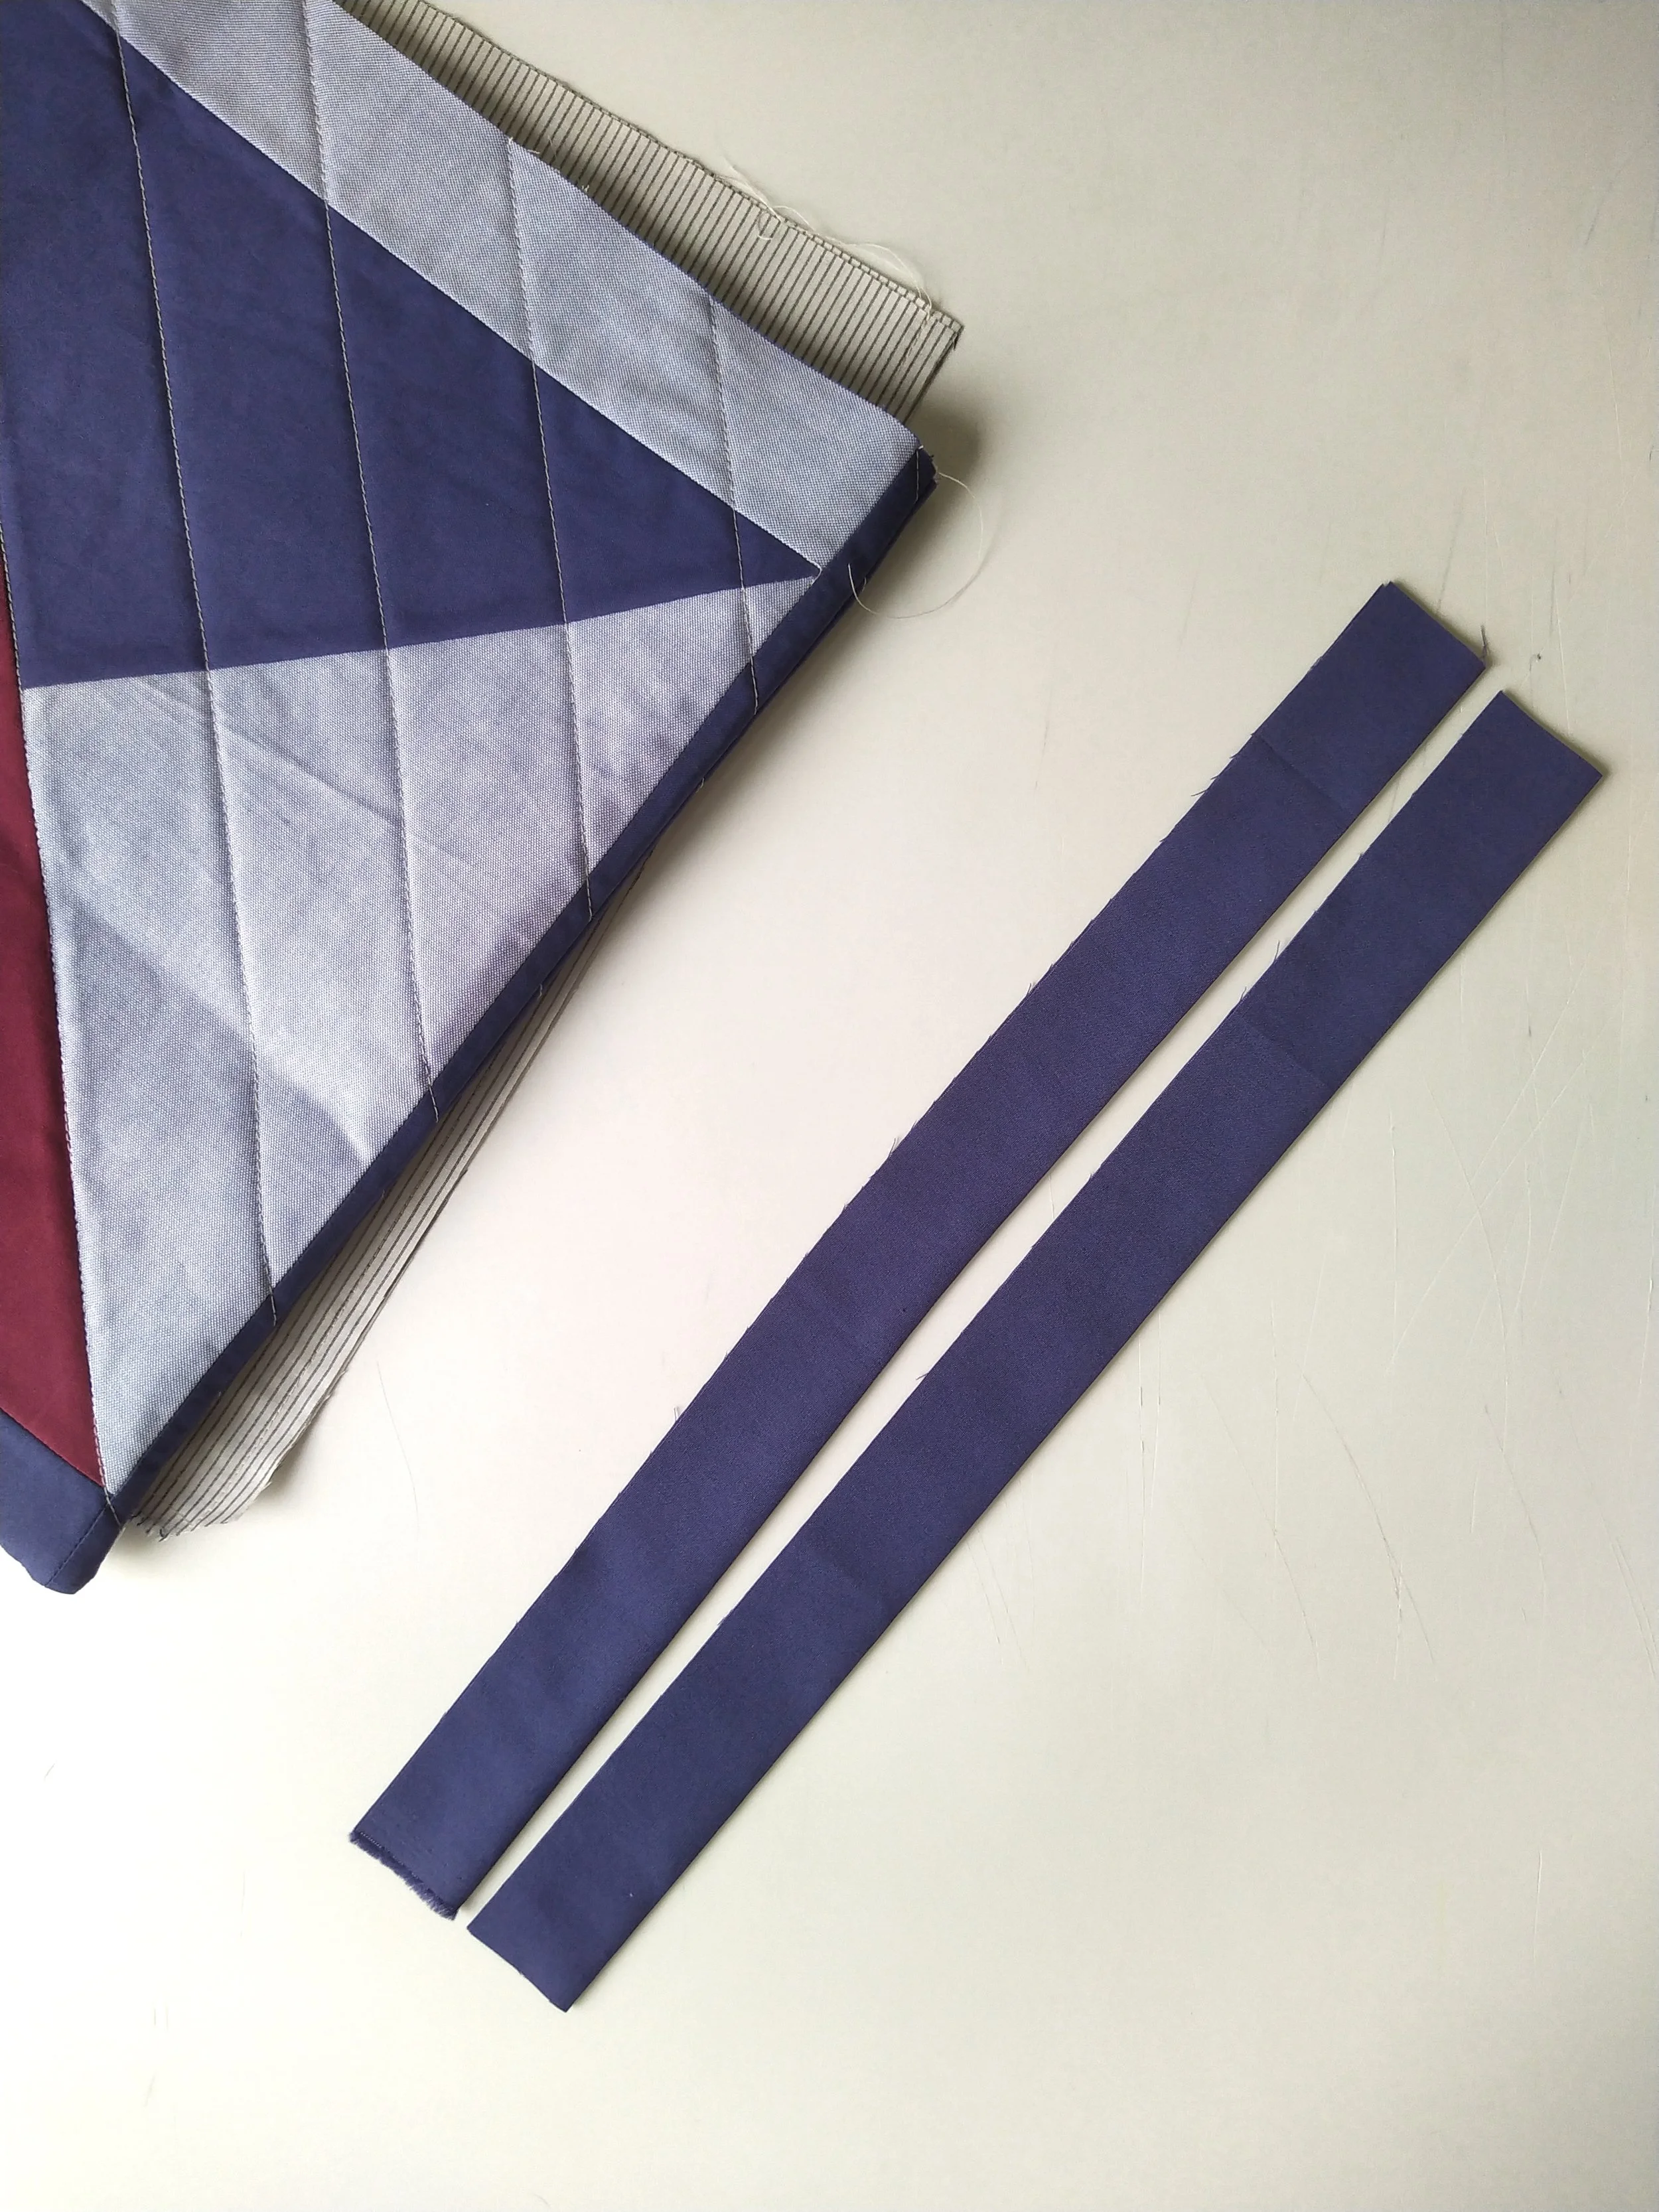
Step 4: The handles
Cut two pieces of fabrics for the handles. They should be 3 inches wide; The lenght depends on you. With right sides together fold them lengthwise and stich. Turn through to the right side and press.
Pin handles in place: measure about 3 inches from each side and pin your handle on the quilted top. Do the same on the opposite side. Make sure that they are straight and do not twist.


Step 5: Sew everything together
Insert the quilted top with the handles inside the lining fabric with right sides together. Line up the side seams. Make sure that the handles are between the quilted top and the lining fabric. Stich around the top edge of your bag. Turn your bag right side out.


Step 6: Finishing
Close the seam in the lining, by flattening the two folded edges together and edgestich.
Push the lining fabric into the bag and press the top edge. Top stitch around the entire top of the bag.


Step 7:
Lean back and enjoy your new quilted tote bag!