
DIY - QUILTED FABRIC BASKET
Handmade fabric baskets are a wonderful decorative way for storing up all kinds of small items. Think about crafting supplies, toys, cables, makeup items, medicine, and all other small things that need a pretty storage place. I love using them as bread baskets for long Sunday brunches with family and friends.
They also make a wonderful gift basket. Use the recipient’s favorite colors - make a basket and fill it with sweets, her/his favorite pesto, craft supplies,… The possibilities are endless. And it is such a fun and also sustainable way for “wrapping” up a little birthday present.
In this tutorial the finished fabric basket will measures about 8 1/2’’(width) x 4’’(depth) x 7’’(heigth unfolded - about 5 1/2’’ when edge is folded back).
Fabrics I used for this tutorial:
outside fabric: dots pink from my Spoonflower shop
lining fabric: solid sugar plum from Art Gallery Fabrics
batting (Vlieseline Cotton277)
Fabrics used for the mock-ups at the end of the tutorial:
cute easter bunnies (small), doodle flowers (medium), carrots (medium) and triangles (small) from my fabric collection EASTER (available in my Spoonflower shop).
OK - enough talking - let’s get started:

You need:
lining fabric (2 rectangles 13’’ x 10’’)
outside fabric (2 rectangles 13 1/2’’ x 10 1/2’’)
batting (2 rectangles 14’’ x 11’’)
basic sewing supplies
seam allowance is 1/4’’.
STEP 1: quilt your outside fabrics
Lay out your batting, lay your outside piece on top of it (right side up) and pin together. Quilt as you like – use your hera marker and ruler for making guidelines and hand or machine quilt your pieces. Trim to 13’’ x 10’’.


Step 2: Cut corners for the depth
On each of the 4 fabric rectangles (2 lining rectangles and 2 quilted outside rectangles) corners need to be cut out. Take one piece and cut out a 2’’ square on both corners of the long side of the rectangle. Repeat with the remaining 3 pieces.


Step 3: top edges
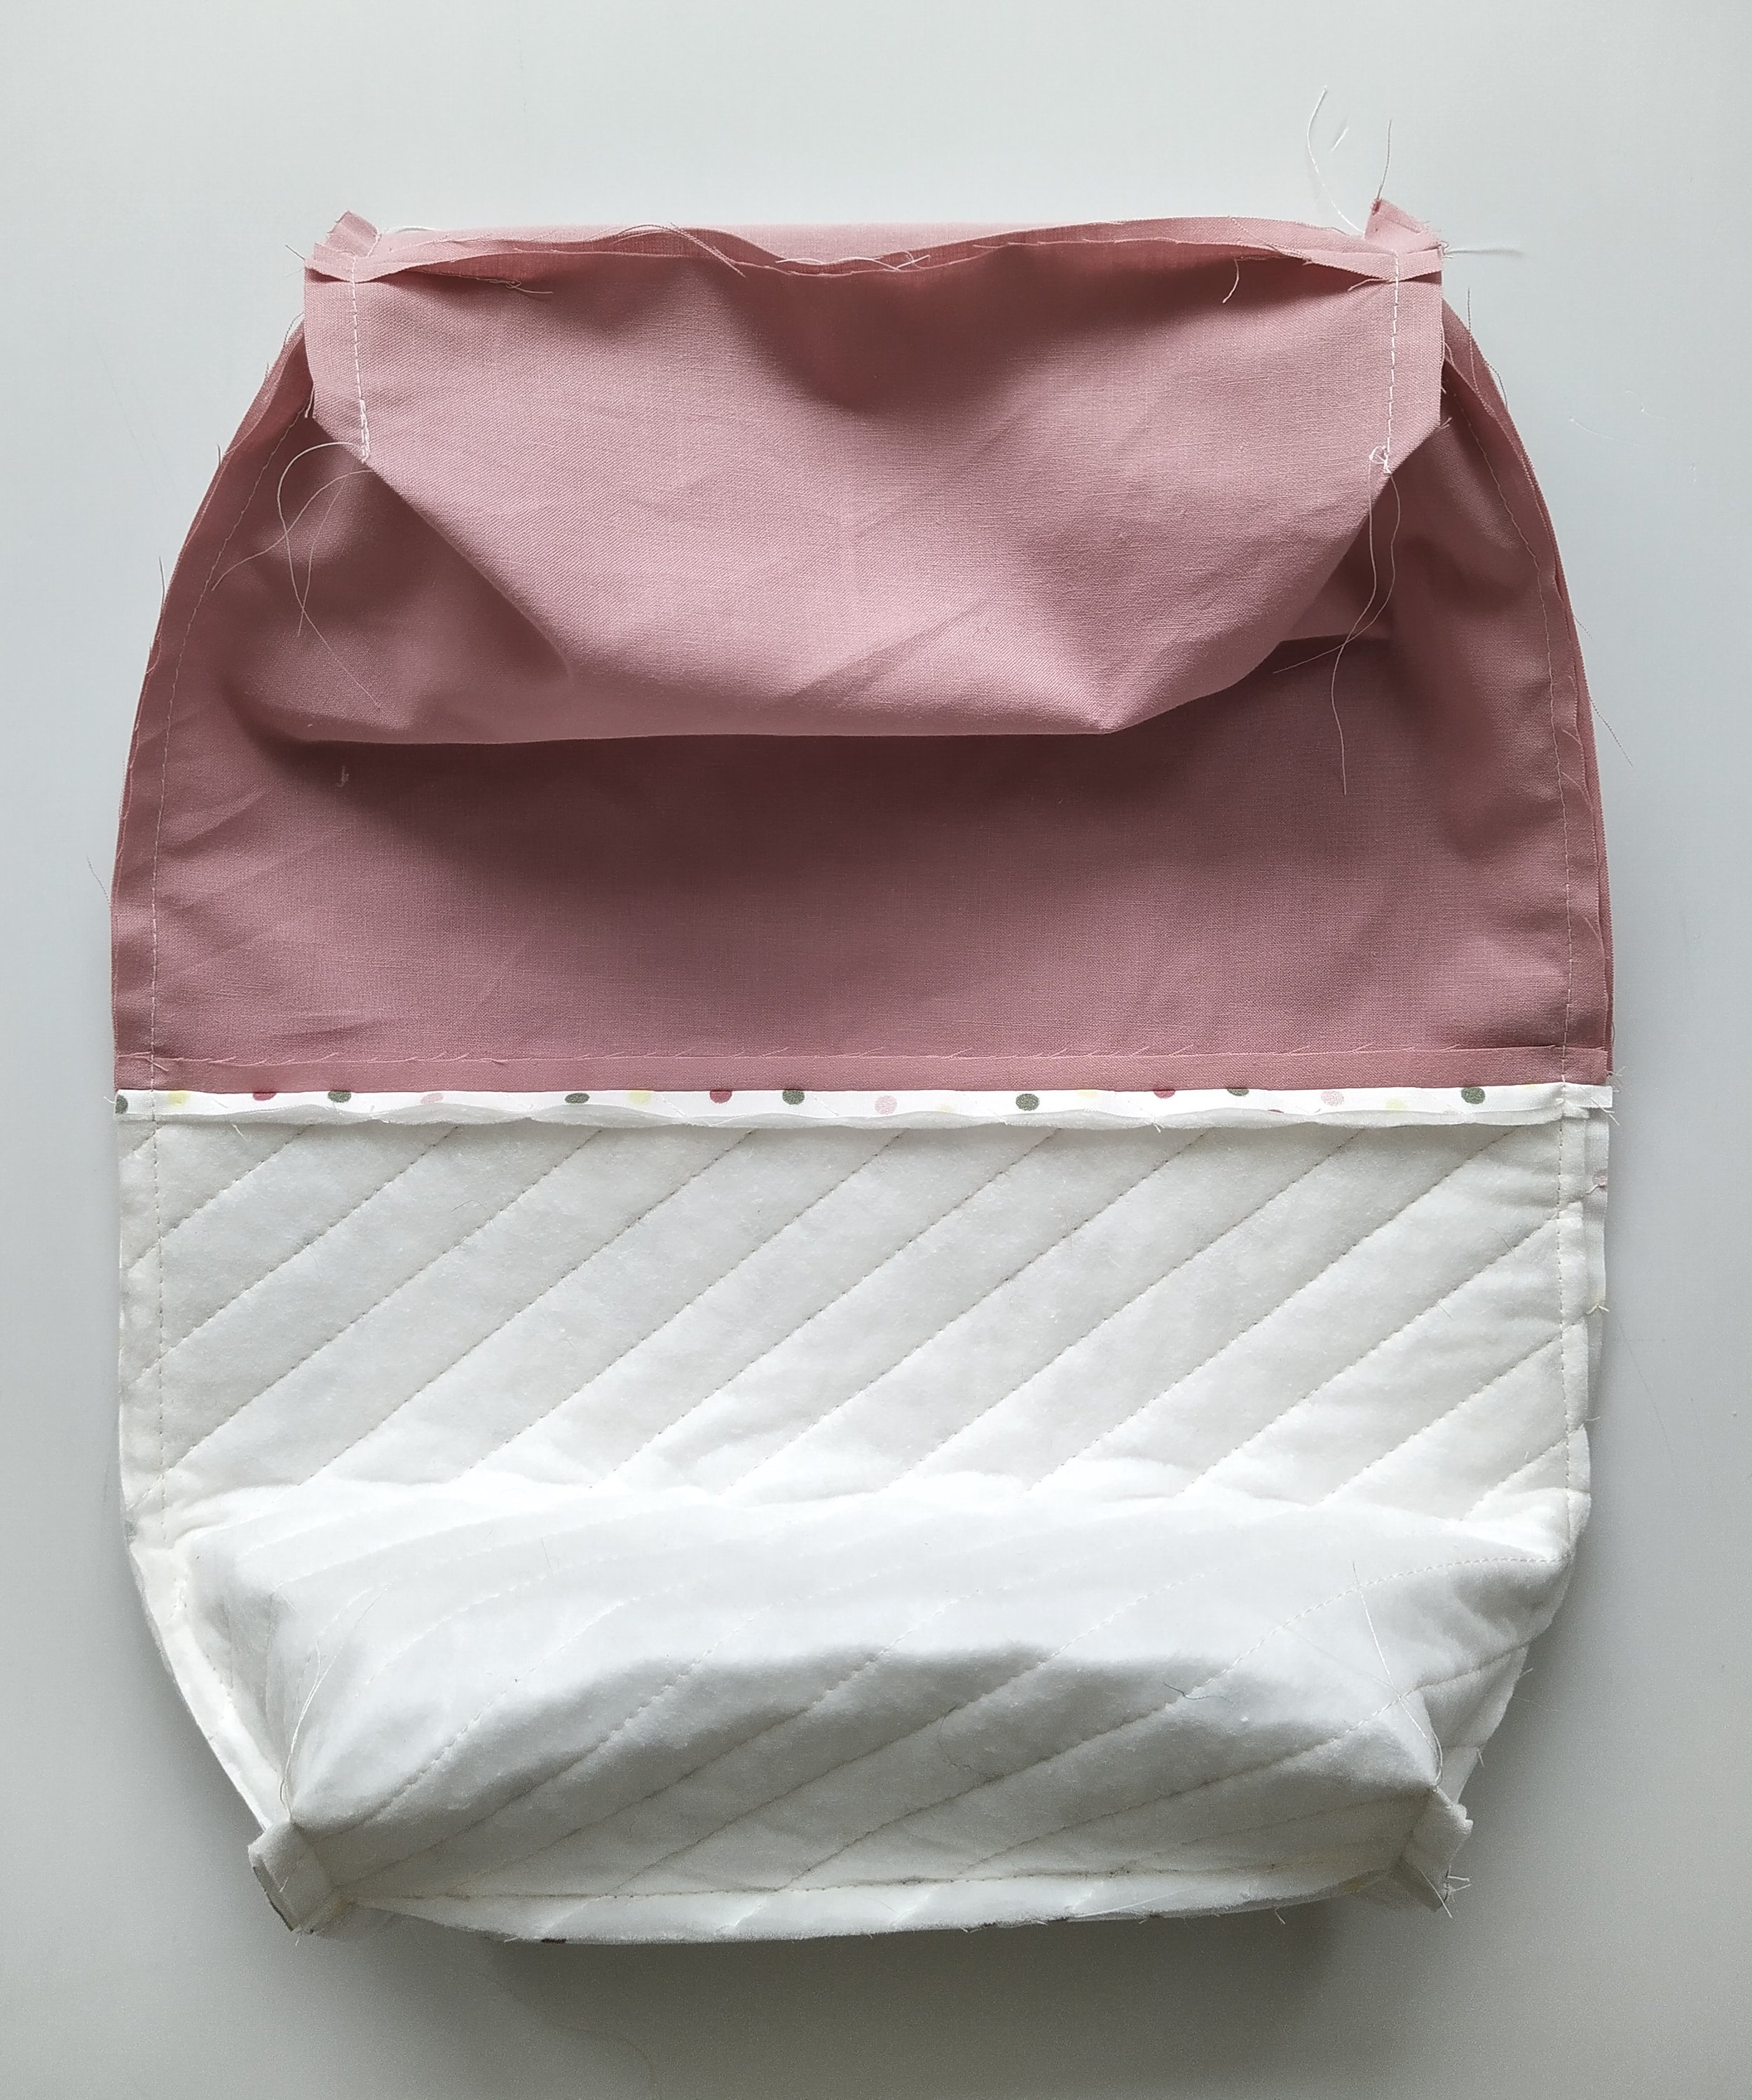
Place one outside piece and one lining piece right sides together and sew them at the top edge together. Press seam open. Repeat with the remaining pieces.


Step 4: side edges and bottom edges
The 2 pieces from step 3 are now sewn together. Unfold the pieces and place them right sides together. Lining fabric on lining fabric and outside fabric on outside fabric. Make sure that the seam, where the lining and the outside fabric are sewn together, aligns.
Now sew the side edges together (marked as 1 and 2) and then the bottom edges (marked as 3 and 4). ATTENTION: Leave an opening (about 6 inches) on the bottom of the lining fabric (marked sewing line nr. 4) to turn through later.


Step 5: corners
Start with one corner. Pull the open edges apart and place the side and bottom seam on top of each other. The seams should align. Pin and sew along the open edge. Repeat with the other three corners.


Step 6: finishing
Turn your basket right side out by pushing through the opening. Close the seam in the lining by flattening the two folded edges together and edgestich by hand or by machine. Voilà - your fabric basket is ready for you!


Enjoy and have fun with filling your new fabric baskets!


